WORKDAY TO CMIC JOB COST PROCESS
Workday to CMiC Job Cost Process
Overview:
This document is a guide for GL Team to assist
them in processing the Weekly and Semi-Monthly job cost files in CMiC. After
Payroll Settlement, the Payroll Department will generate Job Cost files from
Workday. Once generated, SOA, the integration tool, will process the files and
notify the GL Team that the files are available in CMiC system folder.
The
flowchart below are a visual representation of the steps for accessing the CMiC
system folder where the files will be placed after the integration has run.
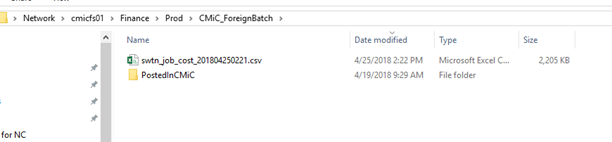
All Job Cost files will be deposited by the
integration tool into a CMiC system folder (\\cmicfs01\Finance\Prod\CMiC_ForeignBatch )
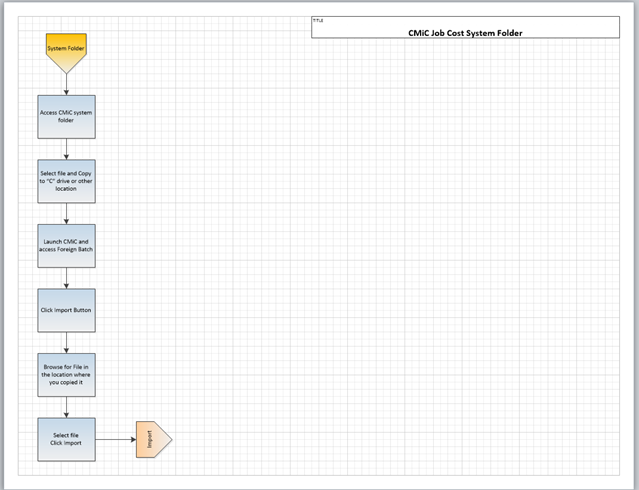
STEP 1:
Navigate to correct folder, and copy file to a
“C” drive folder (or other location)
STEP 2: In the system folder, move the file you copied to
the “PostedinCMiC” folder
Launch CMiC
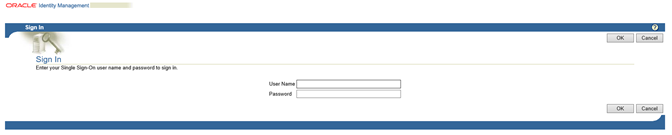
STEP 3: Enter your network User Name and Password
STEP 4: Click OK

STEP 5: Navigate to Job
Costing>Utilities>Import>Foreign Batch
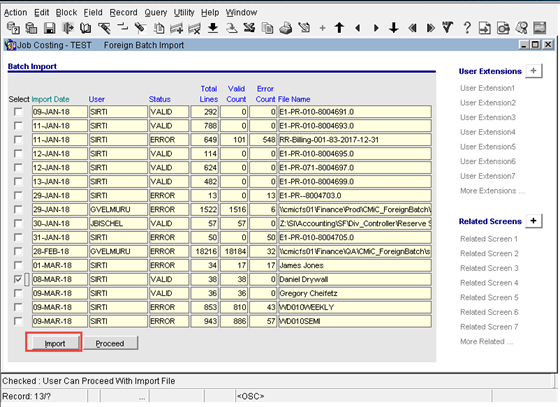
STEP 6: Click Import
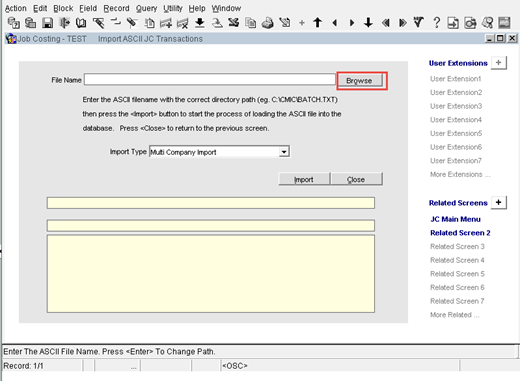
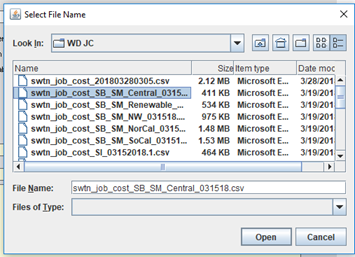
STEP 7: Browse for your file, select it, Click Open
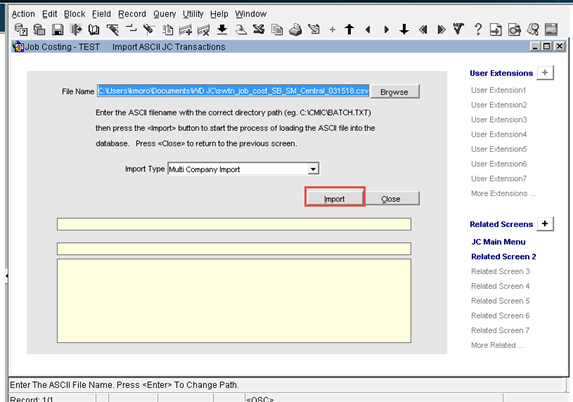
STEP 8: Click Import
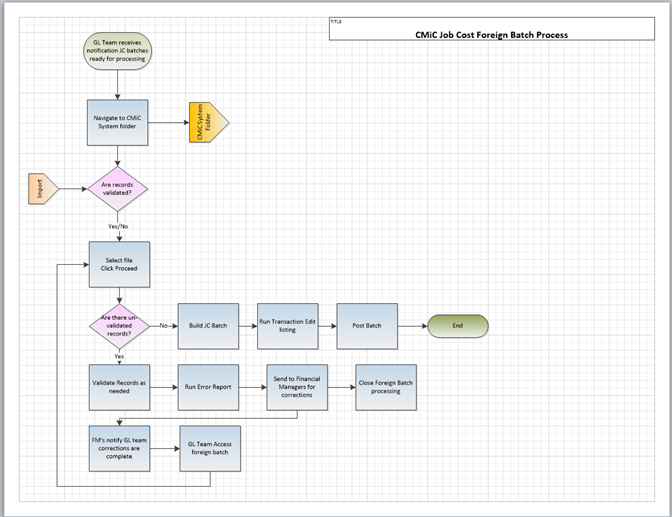
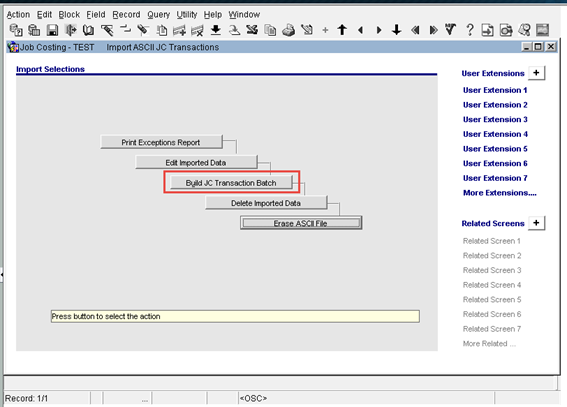
STEP 9: Once file is imported, begin validation process

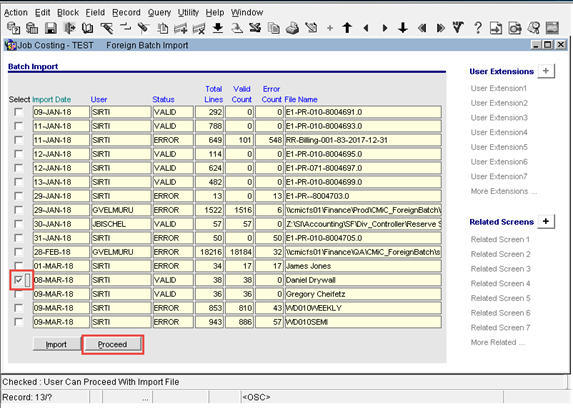
STEP 10: Select applicable row, then Click Proceed
a. If all records are validated, Build JC
Transaction button is available, proceed to step 21
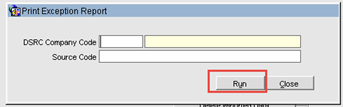
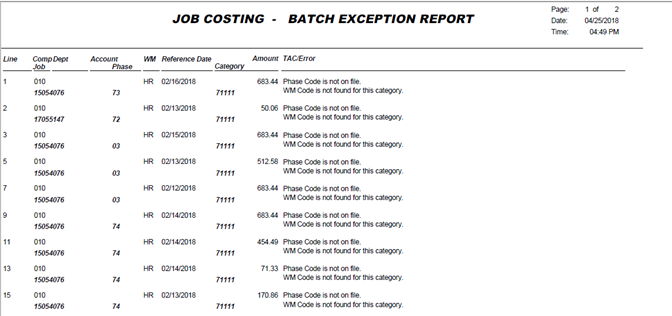
b. If some records are not validated, Print Exception Report

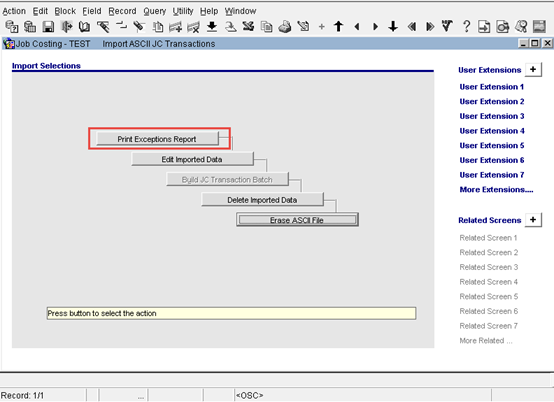
b.1 Leave all
fields blank, Click Run
b.2 On Report
pop-up, Click Run Report
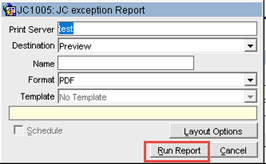
b.3 Save error
report and forward to Financial Manager
b.4 Close out of
Foreign Batch processing.
c. If all records are not validated, go to Step ‘b’

STEP 11: Once all corrections have been completed (FM’s
to notify GL Team of completion), navigate back to Foreign Batch
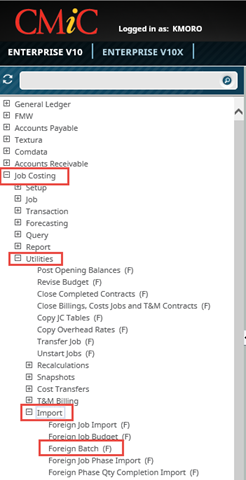
STEP 12: Job Costing>Utilities>Import>Foreign
Batch, select your file and Click Proceed
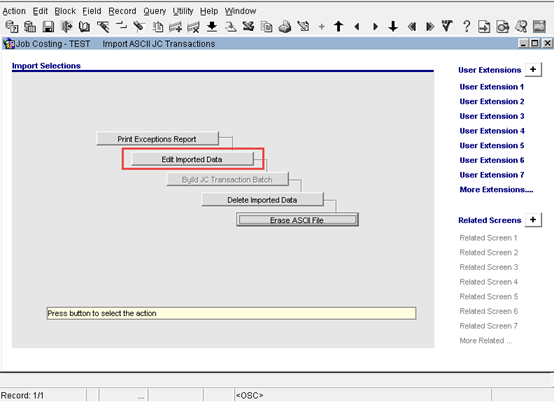
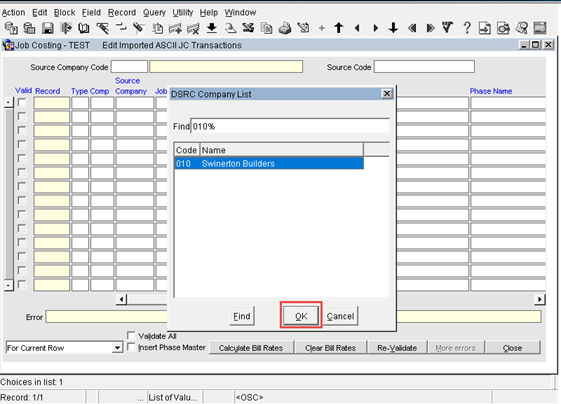
STEP 13: Click Edit Imported Data button, to validate records
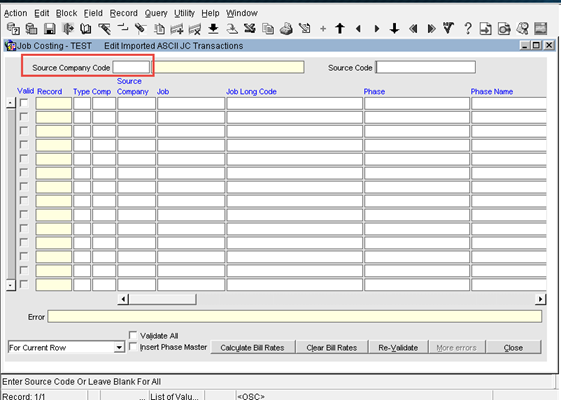
STEP 14: Double Click in Source Company field and select
Company
Note: Some files may contain multiple companies due to Inter-company transactions, each company must be validated separately.
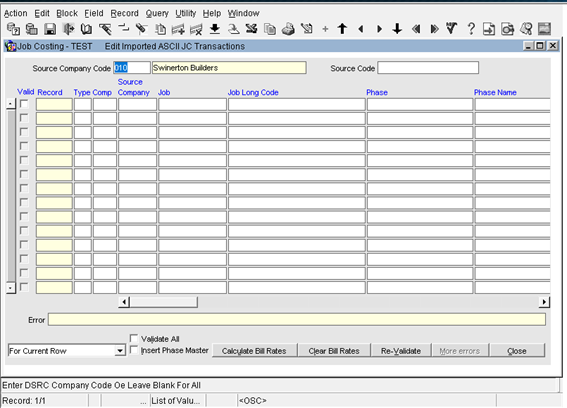
STEP 15: Once selected, hit Page Down on your keyboard to
populate grid
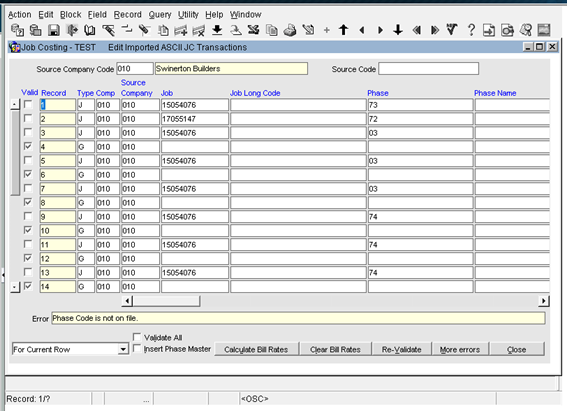
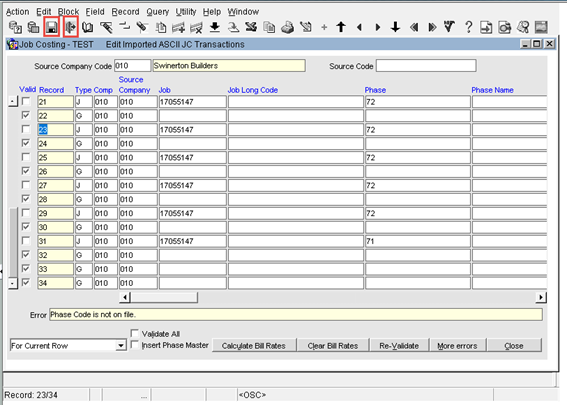
STEP 16: Using the Scroll bar on the left side of screen,
scroll down at least 1 page

STEP 17: Then click the Last Record button (in the top
menu) to scroll to last record
Note: This may take a while depending on
the size of the file you are attempting to process
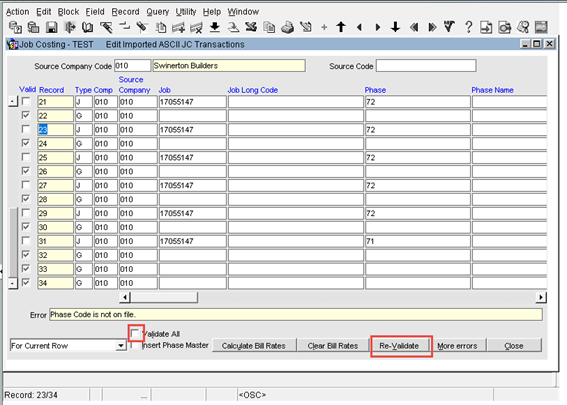
STEP 18: When last record is displayed, Click the Validate All check box, then click the Re-Validate button
STEP 19: Once validation/re-validation process is
complete, Save and Close the edit transaction screen.
STEP 20: Is Build JC Transaction Batch button available?
a. If Yes proceed to step 21
b. If no, return to step 10b above
and complete correction process (these
steps can be repeated as many times as needed until Build JC Transaction batch
button is available).
STEP 21: Complete the following fields
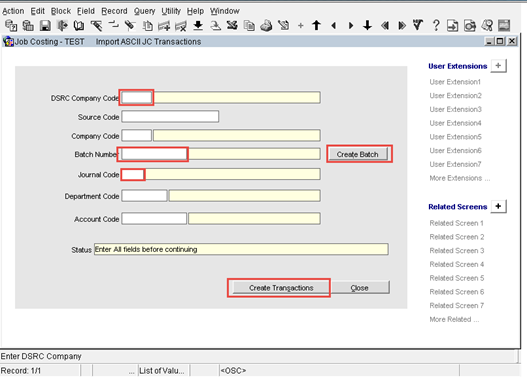
f. Double Click or enter Source Company for batch
Note: If you had
multiple companies in your validation process, then a batch needs to be built
individually for each company
g. Click Create Batch button, enter batch name and
select
h. Enter “PY” in Journal Code field
i. Click Create Transactions
Note: If you get an ‘out of balance’ error when clicking create
transactions button, return to the file edit screen, go to the last record, then
export file to excel. Audit file for out
of balance transaction, correct transaction in edit screen. Save and close, return to Build JC
transactions and re-build the batch.