SwinNet News: How to Create a News Article
SwinNet News: How to Create a News Article
STEP 1: Upload a 550 x 276px or a 275 x 400px image into the Image Library. For further instructions, see Part 1 of the Image Web Part guide.
STEP 2: Go to the News area on your site or page and click on Add under the subhead.
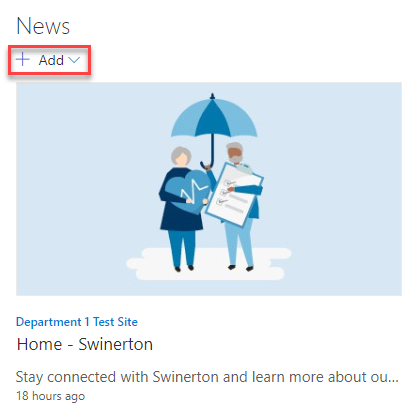
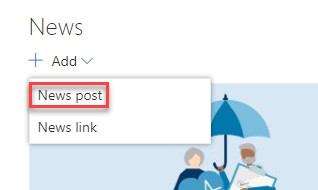
STEP 3: Click on News Post.
STEP 4: Look through the Saved On The Site templates and select either the News Article Type 1 or the News Article Type 2 template.

STEP 5: View the template on the right and then click the Use This Template blue button.

STEP 6: Replace the template name at the top with your page title.
This page title will be used for two things: 1) a headline in News area and news digest; 2) to create the URL. Please put spaces between words and capitalize every word (no all caps). Filling in the "Name or Email Address" field is optional if you want a byline.

STEP 7: Enter the rest of the text (intro paragraph and body text). Then click the two lines with dots icon in the Image web part, and click the Change button in the right panel.
You can link your image to a larger version or another place (optional) by entering a URL. Vertical images are allowed in the image space if they are 275 x 400. If you add a vertical image, you should also upload and select a horizontal thumbnail image (550 x 276) in Page Details.

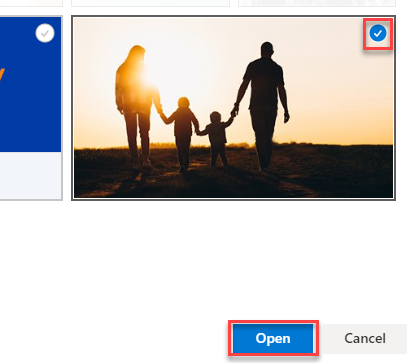
STEP 8: Select the image you uploaded to the Image Library. (It is best to click on Site and surf to where you uploaded the image.) As you roll over the images, you will see a circle appear n the top corner. Click the circle in the upper right corner to select your image and then click the Select button. It will replace the placeholder image with your new image.
STEP 9: While still in Edit mode, click on Page Details and fill out the metadata (Content Owner, Expiry Date, etc.) in the right panel.

STEP 10: In the Dept/Region/Market field, target where you want your news article to go on SwinNet. You can either click on the Tags icon to select or enter a word. Be sure to save your changes by clicking in the box.
Select your department, market, division, or BRG. (You can find divisions and BRGs in the Division/BRG field.) Make multiple selections if you would like to post to another department and/or SwinNet Home.


STEP 11: Also be sure to check the Thumbnail Image and Description field in Page Details panel. It will automatically enter text that you may want to edit. Make sure you are still in Edit mode to edit the description.
This is the text that will appear under the headline in the News area and also in the news digest.

STEP 12: When you are done filling in the metadata, click the blue Submit for Approval button in the upper right corner to start the approval workflow.
