Autodesk Field Management - Print & Schedule Reports from Insight
Only Project Admins can print reports from Insight
STEP 1: Open BIM 360 website and sign in
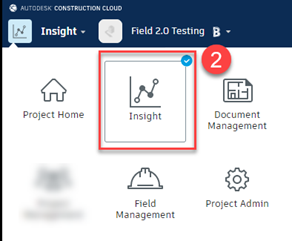
STEP 2: Click on the module selector in the upper left and select Insight
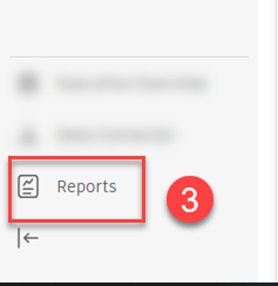
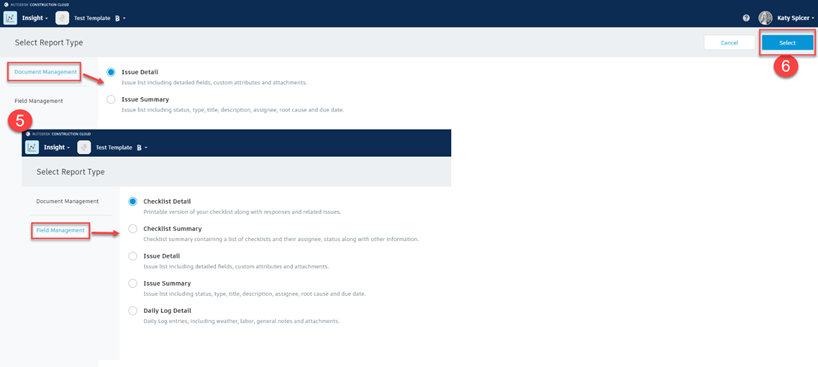
STEP 3: Select Reports in the bottom left hand corner
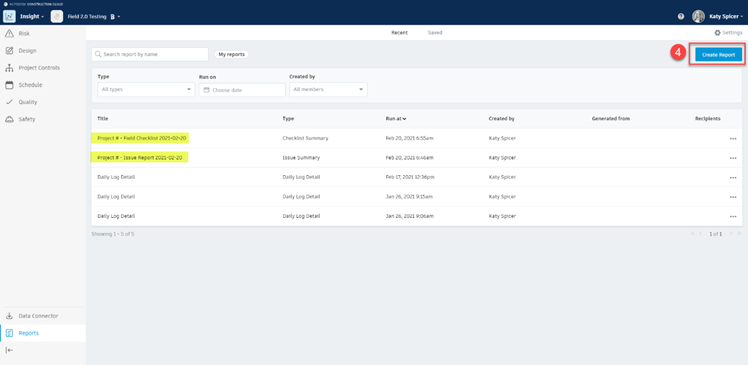
STEP 4: Click on Create Report in the upper right. Notice, the export reports for issues and checklists will pull to this reports page.
STEP 5: Select Document management for Issue report, select Field Management for Checklist, Issue and Daily log reports. *Issues from Document management are the same reports from Field Management
STEP 6: Click Select in the upper right after choosing which report you want to print
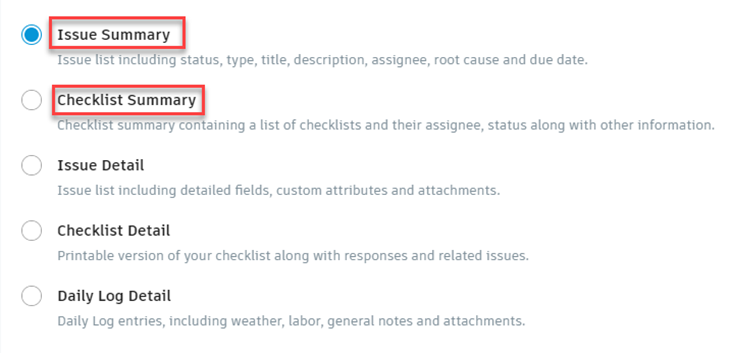
Know the difference: Summary provides more information! We recommend sending out the summary reports! Detail reports provide pin locations, photos, etc. making your report longer.
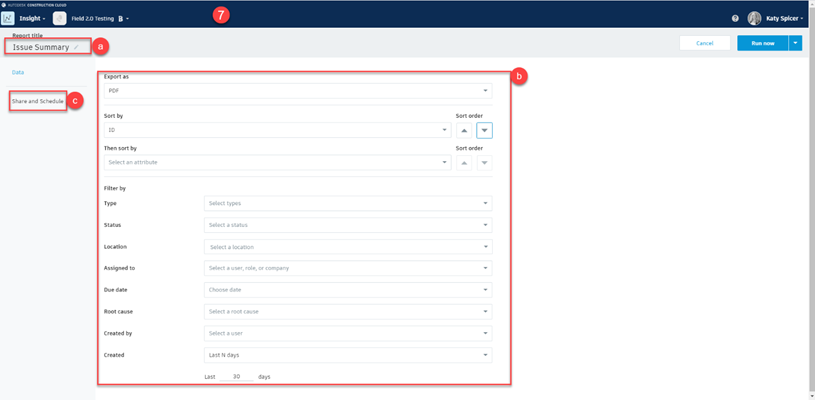
STEP 7: For any report you choose, you can set your parameters for the report and select “Run Now” for an immediate report. You can schedule the report to be sent out by selecting Share and Schedule. You will need to set up individual reports for each subcontractor onsite based on their Company.
- Update your report title
- Fill in your filters of how you want your report ran
- Share and schedule – This is where you can set up weekly reports to be sent to each individual sub on your project
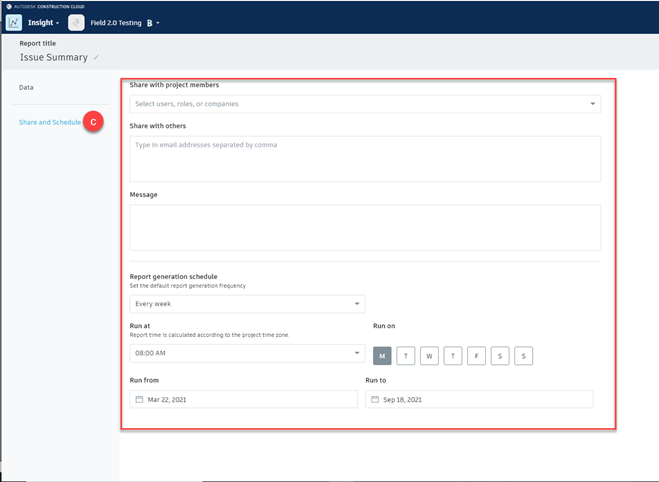
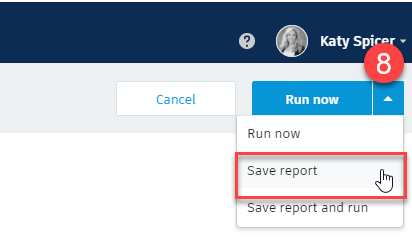
STEP 8: Once you have the information filled in and scheduled, you should SAVE the report. To do this select the dropdown arrow next to Run now and select Save This can be done for multiple reports. You can also run the report now or select Save and run.
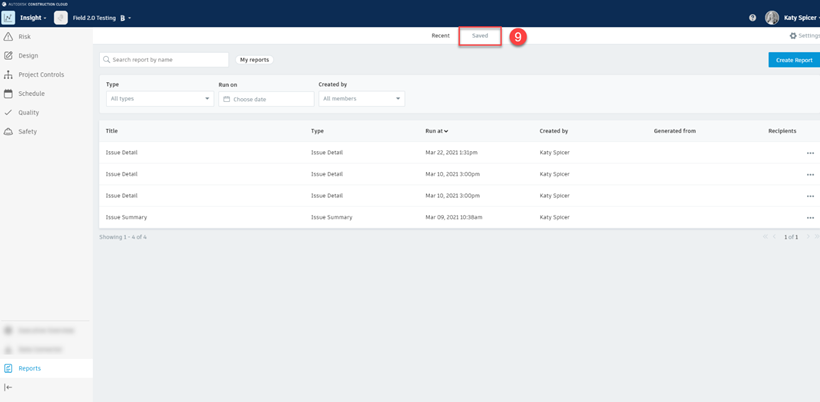
STEP 9: To view your saved reports, go into the reports tab and select save at the top.