Create a COR (Change Order Request) Letter
Create a COR (Change Order Request) Letter
OVERVIEW:
There are Two formats for the COR letter:
COR Type 1 has the cost detail information within the body of the letter
COR Type 2 has the PCI Total in the body of the letter and the cost detail information on a 2nd page Cost Sheet
There are Two actions for each format:
We HAVE NOT Proceeded with this revised work
We HAVE Proceeded with this revised work
For COR Type 2 there is also the option to show rates and quantities.
Confirm the project has been Set Up:
- Click HERE for the how-to guide if you have not completed the Project Maintenance set-up
- The Change Order Request (COR) letters are addressed to the Customer company defined on the Project Maintenance / General tab - Customer field.
- “Days for COR approval” field on the General tab must also be populated or else it will be blank on the COR.
- The Primary Owner Contact must be identified in the Project Partner Directory or else the "To" section will be blank. Click HERE for the how-to guide.
STEP 1: Change the Status to "Submitted - Not Proceeding" or "Submitted - Proceeding"
STEP 2: Enter the Change Issued date from blank to today's date.
STEP 3: Review and update all other fields as needed.
NOTE: The following information pulls onto the COR Letters:
- PCI #
- Description (only on COR Type 2 letters at bottom for Enclosures)
- Scope
- Estimated Days Impact (either blank which means TBD or enter number of calendar days)
- Date Change Submitted to Owner
- Change Order Request Number (optional)
- Change Issued date field
- Total Revenue Budget Amount
- PCI Details - Description
-
PCI Details - Vendor Name
-
PCI Details - Phase and Category Codes
-
PCI Details - Revenue Quantity and Revenue Rate (if COR Type 2 w/ Rates Quantities is selected)
-
PCI Details - Revenue Amount
STEP 4: Click Save on the PCI to update all information
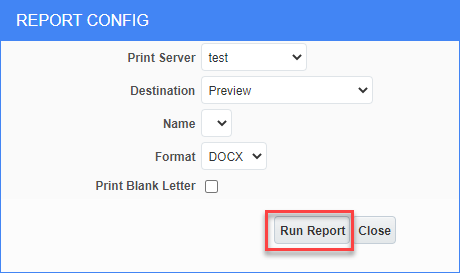
STEP 5: Click Print PCI
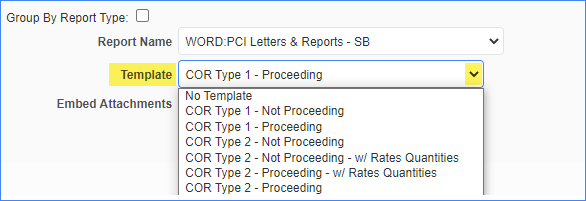
STEP 6: In the popup window, click on the drop down menu next to Template to select the COR Type you want to use
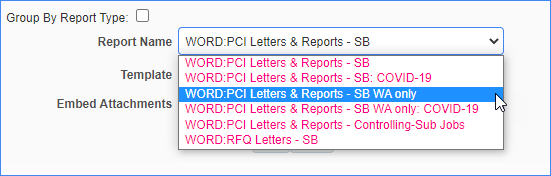
FOR WASHTINGTON ONLY
Click Print PCI and from the Report Name drop down menu select “WORD: PCI Letters & Reports – SB WA only” for Report Name, and select a Template (see options in previous step)
STEP 7: Click Run Report and the word document will be created and downloaded to your computer.